
The Dashboard is the main screen that will load when you log into the system. You will see many widgets throughout your Dashboard.
Setting Up Your Dashboard
When you log into your system for the first time you will see a list of default widgets.
From the top right you will see a Configure (octagon) icon. This will allow you to add or remove any widgets for your dashboard. Refer to the list of widgets below to learn about each of them.
From the left, click the + to add any widget. From the right, click the X to remove any widget. Once you have all the widgets you want to appear added to the list on the right you can adjust the layout.
Click on any widget to drag and drop. You will notice an arrow in the bottom right when you hover over a widget. This will allow you to click and drag the widget as large or as small as you would like it to appear.
When done, make sure to save your changes.
There is an Options drop down at the top right of your dashboard. This will allow you to set the number of rows you want on your dashboard.
Throughout your dashboard you will notice some icons:
- Refresh icon – this will refresh the widget to show any updated information.
- Pencil icon – this allows you to edit the title of that widget. Click the pencil, update the widget name, then uncheck beside ‘hide field’.
- Configure (octagon) icon – this allows you to edit the settings within that widget.
How Each Widget Works
Notifications
You will see the following notifications. If there are any items waiting to be viewed, a number will show beside the notification type.
- Announcements: Any announcements posted by FrontRunner.
- Family Feedback: Any comments left by online visitors from within your website.
- Stories: If the approval process is turned on, this section displays the number of stories waiting to be approved by either the funeral home or family login. For more information on approving stories, please click here.
- Photos: If the approval process is turned on, this section displays how many photos are waiting to be approved by either the funeral home or family login. For more information on approving photos, please click here.

Click upon any notification to view.
Records
Use the Create New Record button to quickly get started entering a new record in the system. Click on any of the tabs to view all records, current records, past records, or pre-need records. You can click on a name to open that record.

Clock
The click will show the current time. When hovered over, there is a Configure icon that will allow you to change the appearance of your clock. There are also arrows that will allow you to quickly scroll from one clock to the next.
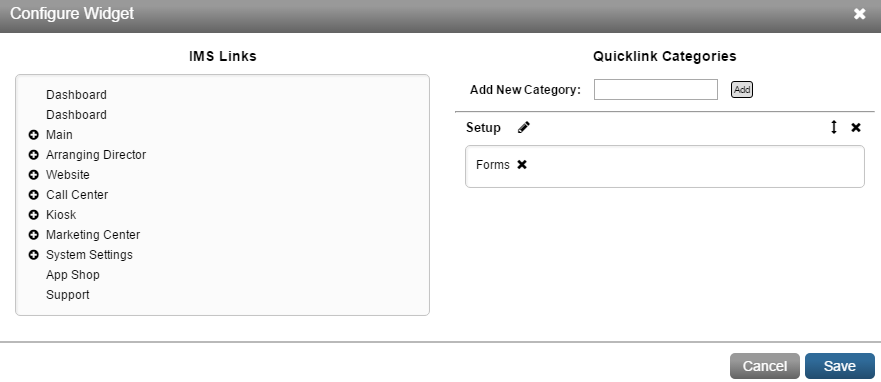
Quick Links
This section lists links to other areas of the system for quick access.
Hover over the widget and click the Settings icon. You need to add a category on the right before adding links. Enter a category name in the field provided and click Add. See example below. I added the word Setup.
Using the links on the links, click the + to drop down categories. When you find the link you want to add, click on it and drag it over to the empty field on the right.
Click save when done.
Tips
Use the arrow, when hovering over this widget, so rotate tips we have provided for you.
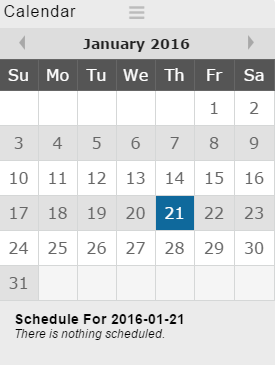
Calendar
A calendar displays the current month with the current day highlighted.
Underneath the calendar, a schedule of that day (visitations, services, etc…) is visible. If there is an item in the schedule, the name of deceased with the date and time is shown. Click on the name of deceased to open the record. Use the arrows to flip back and forth between the days or simply click on a day within the calendar.
Memos
This may consist of any internal notes for yourself or other staff members who will login to the system. Click the Add/Edit Memo link for a pop-up to appear with any memos listed. To add a memo, click Add Memo. Use the fields provided to enter the information about this memo. There is an option to assign and email a memo to another user. To add more users to this list, click here. When complete, click on Save. To delete a memo, open the pop-up window and select the memo(s) to delete. There is a Remove Selected button at the bottom.
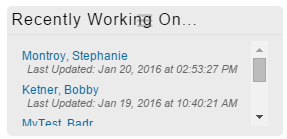
Recently Working On
This section is a a list of any records recently worked on. The name of deceased and the last updated date and time will appear.
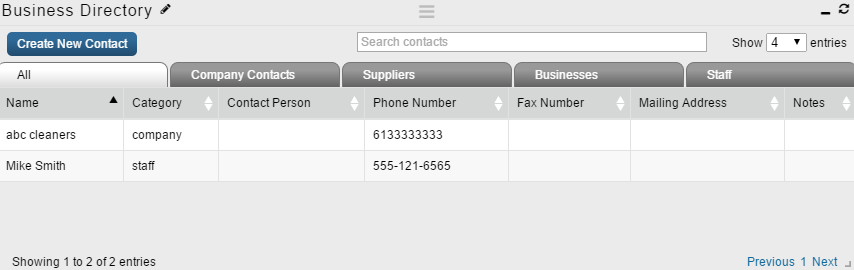
Business Directory
The Business Directory lists any company contacts, suppliers, business, and staff members. To add a new contact, click the Create New Contact button.
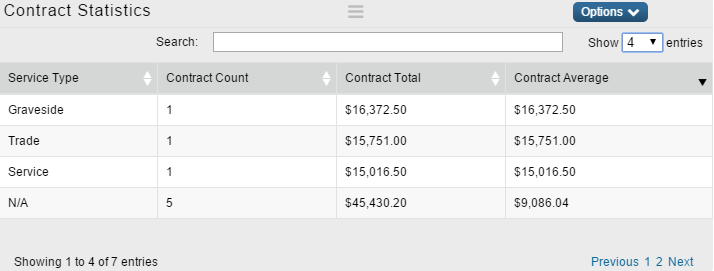
Contract Statistics
This chart shows you data collected for certain items. If you go to the Options button you will see you can select a date range and the type of information you want data for. Example: Service Types.
You will see a list of each service type, how many times each appeared in a contract, the total and average cost.
Earnings
You will be able to see how much revenue is being generated from the Book of Memories. You will see the monthly average per record. These revenues are generated from the candle and flower programs if activated in the system. To learn how you can be making more, click the PDF link.
Google Website Analytics
This statistics report pulls from your Google Analytics account. If you do not have an account, please contact your Success Coach to get you started.
If your firm has a Google Analytics account (recommended), click the button in the top right called G: Not Signed In.
A drop down will appear. Click the “Link to account” button and follow the steps.
This section displays the number of new and returning website visitors. A line graph shows the number of page views each day. Hover over the dot to see the daily page views.
Record Analytics
These reports outline basic record statistics.
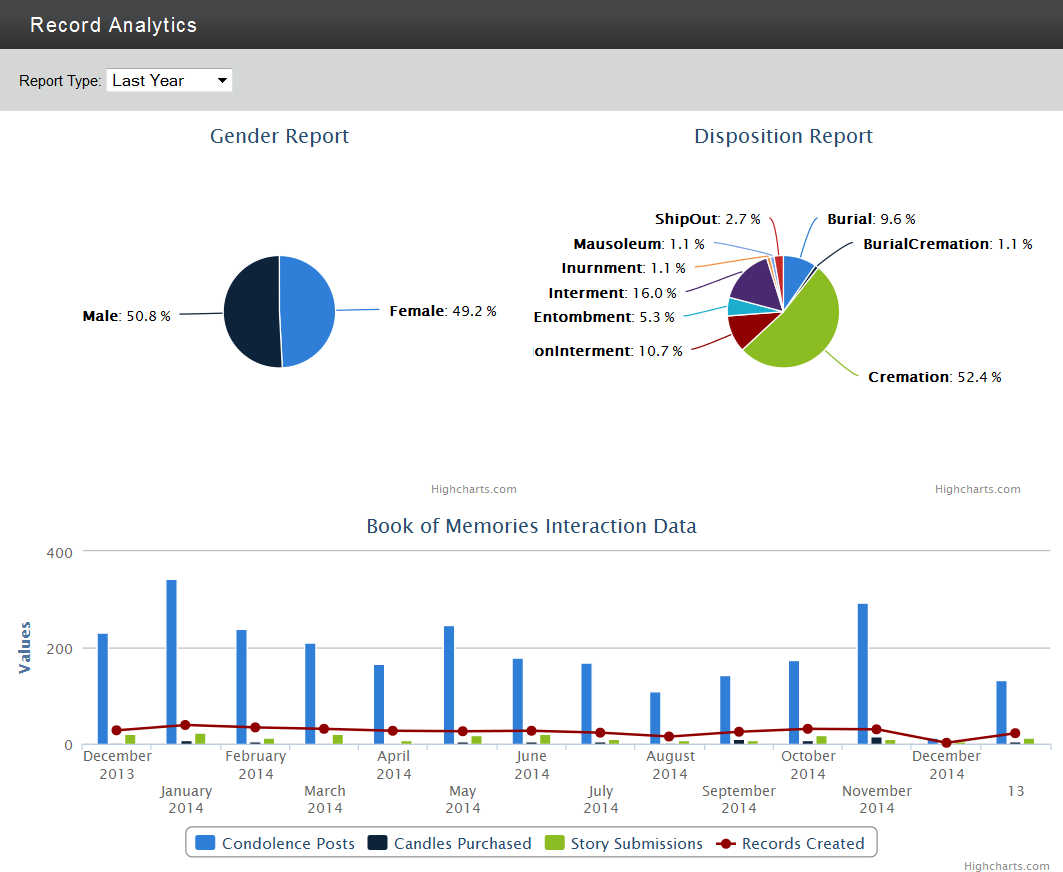
There is also a chart of Book of Memories data that displays the number of condolences posted, candles purchased, stories submitted, and records created. Hover over the data within the chart to see the number for each month.
Use the Options button to change the type of report you want to view. You will also be able to select a time period.
Record Map
The map widget allows you to pull a report, and based on the information you are looking for will place a pin on the map. Click the Configure icon.
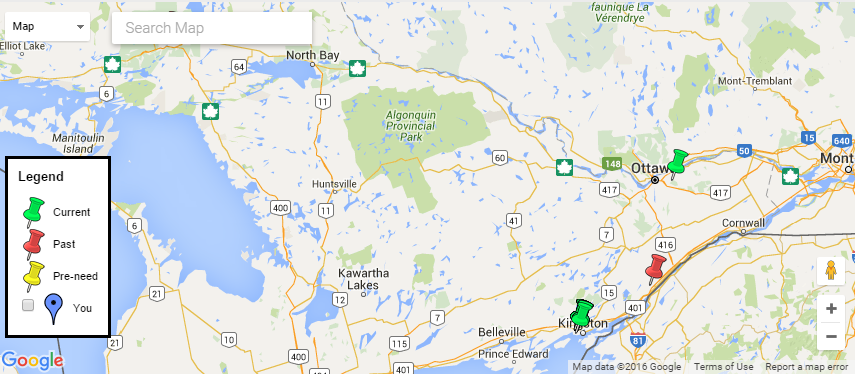
For example: if you want to see the place of death information, chose your time period, select all for records, and place of death for location. Click update. You will now see pins placed on the map. The colored pins will tell you what type of record they are. The pins will point to areas on the map where the place of death was located.
Search History
This section lists words that online visitors searched within your website and how many times each word was searched. There is also the option to view a list of words being searched online within a specific area. Click the Fetch button to retrieve the data.
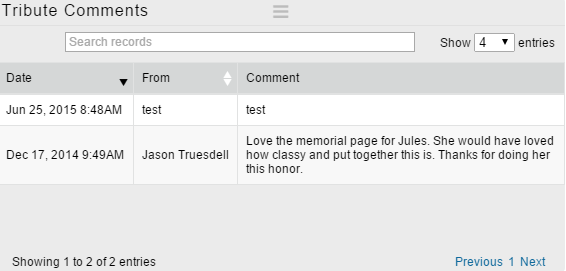
Tribute Comments
This will display any comments left by online visitors from the Book of Memories program.
Need more help with this?
Don’t hesitate to contact us here.