Editing Your Home Page
There are certain features available only for home page.
As you hover over these features you will see an Edit and Remove button.
If there are widgets listed below that you would like to include on your home page, please contact us.
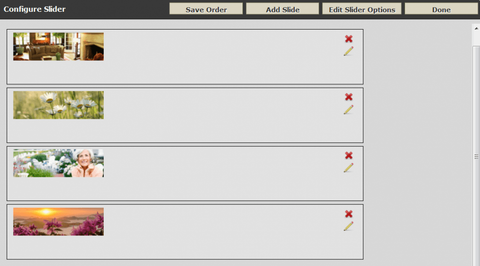
Adding a New Image
- Click Add Slide.
- Click the Choose File button.
- Locate the file on your computer > Open.
Each image can also be linked to another page on your website or to an external website.
- Whether you add a new image or click the pencil icon to edit, you will see an option for linking.
- To create a link to a page on your website:
- Save any changes you're working on.
- Navigate to the page you want to link.
- Click Edit Details > refer to the Optional Settings section > What should be web page’s file name? field > copy the URL within the field.
- Close
- You will want to paste the URL into the field when editing your slide.
- Set the link to open a page in a Current Window.
- Click Save > Done.
- To link to an external website:
- Open a new tab in your browser and go to the third-party website.
- Copy the URL in the address bar.
- You will want to paste the URL into the field when editing your slide.
- Set the link to open a page in a New Window.
- Click Save > Done.
Change Order of Slider Images
Place cursor over the image to be moved and drag and drop it to the new position. When any changes to the order of the images is made, click the Save Order button.
Edit Slider Options
- Fade or Slide transition
- Slide Duration time.
- To show the slide, check the ‘Show Slide’ box.
Navigation
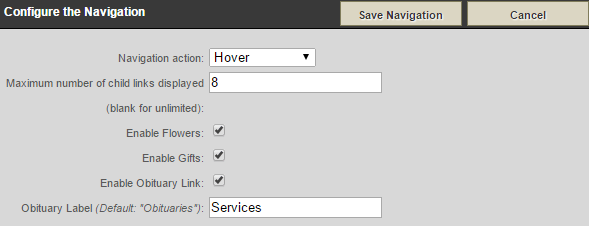
- Click on the Edit button to update your navigation settings.
- Navigation action: who do you want your navigation to work?
- Hover: when a main page is hovered, the drop down menu will appear.
- Click: when a main page is clicked on, the drop down menu will appear.
- No Drop Down: you need to click a main page to show the sub-pages.
- You can choose how many sub-sections appear in the drop down menu by entering a number in the ‘Maximum number of child links’ field.
- You can also enable flowers and obituary links on the main menu by checking the applicable boxes.
- The Obituary Label field allows you to change the name of that page.
- Click Save Navigation
Service Listings
- Click on the Edit button to update your service listing settings.
- To change the wording for ‘Current Services’, enter new text in the ‘Current Service Verbiage’ field.
- To change the wording from ‘Obituary Notifications’, enter new text in the ‘Obituary Notification Verbiage’ field.
- There is also an option to show a photo for each current service. Check the box beside ‘Show Listing Photo’.
- Click Save Navigation.
Welcome
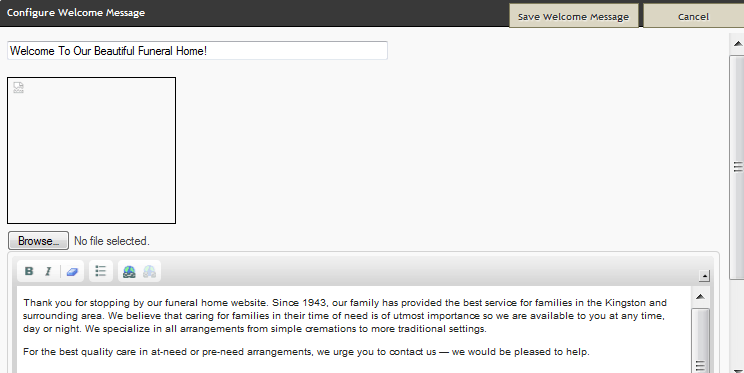
- Click the Edit button to make updates to your welcome area.
- The top field allows you to enter a welcome title.
- To change the image, click on Browse and locate the file on our computer. You will need to drag your cursor to highlight that focal point in the photo you want displayed.
- In the text field, you have a few options for editing.
- Bold your text.
- Italicize your text.
- Clear Formatting.
- Create a bullet-point list.
- Create a link
- Break a link.
News & Events
- Click on the Edit button to update your news section.
- Click on Add New News/Event.
- Enter a Title and the content pertaining to this event.
- Check the Active button to ensure the listing is visible.
Click Save > Done.
Locations & Directions
- To edit the introductory sentence only, click Edit.
- If left blank, the default sentence will appear.
To change any of the contact information, visit your System Profile
where the information is collected.
Grief Resources
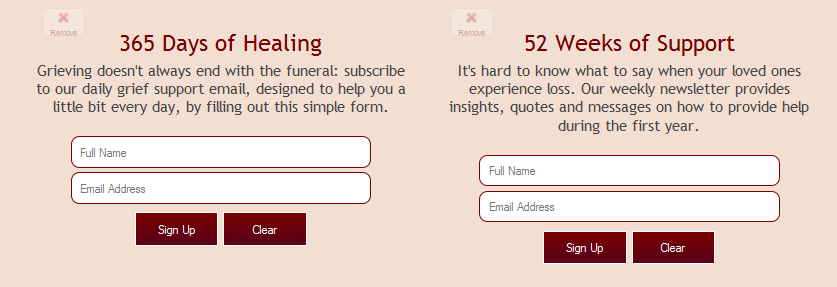
The 365 Days of Healing and 52 Weeks of Support widgets can’t be edited. To remove
either one, click on the Remove button. Once removed, there will be no way for you to bring it back. Please contact us
if you wish to have this on your website.
Helping You Plan & Helping You Grieve
Both fields can be customized with new content, however the titles will remain the same.
Click Edit to make changes to the content.
Click Remove if you want to remove these from your website.
Once removed, there will be no way for you to bring it back. Please contact us
if you wish to have this on your website.
Calls to Action
There are four distinct calls to action available.
- Order Flowers
- Immediate Need
- Pre-Arrangement
- Obituaries & Tributes.
- Click Edit.
- Drag and drop the items from lower bar to the top section and / or to rearrange the order.
- To create a custom call to action, click on Create Custom CTA and fill in all fields.
- Click Save Calls to Action.
Associations
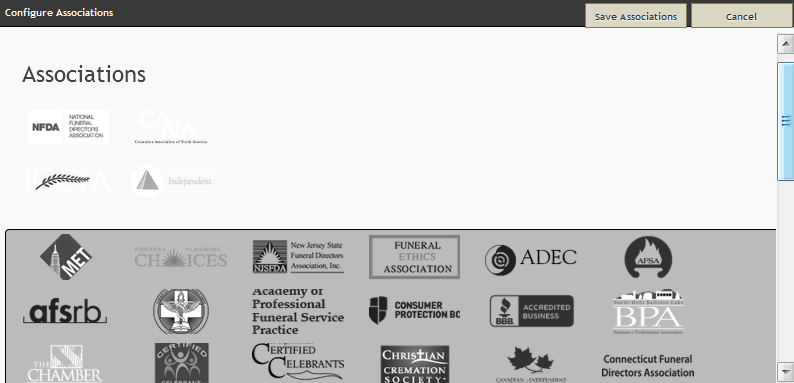
- To add association logos, click Edit.
- Drag and drop the logos from the lower to the top bar.
- Click Save Associations.
If you cannot find one in the library, please contact us.
Location Information
61 Hyperion Court
Kingston, ON K7K 7K7
Kingston, ON K7K 7K7


