
Follow us
Overview
** This section of our manual is for clients who see the "Website Editor" tab across the top of their system. If you do not see this, and your tab says "Website" only, follow the Website Tab
section in the left menu of our manual.
The Editor’s interface has three main Predefined Sections: The top bar, the left menu, and the content area. Each of these Predefined Sections plays an important role in letting you make your Website as awesome as possible.
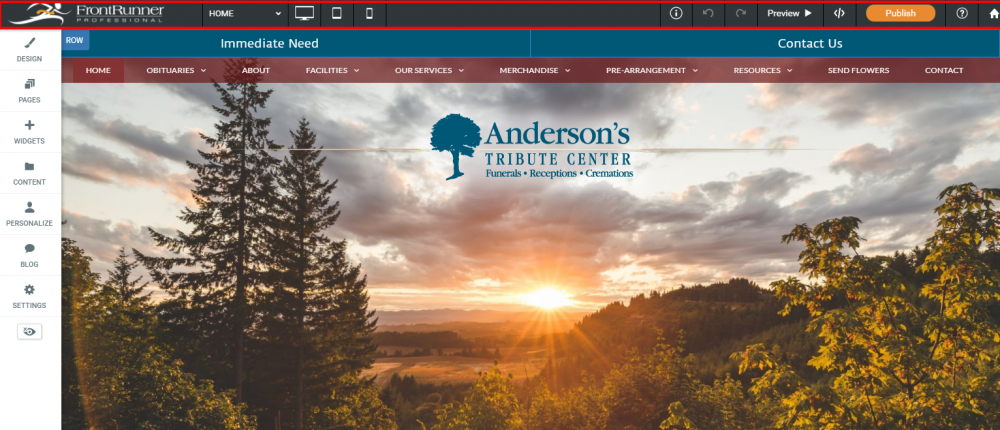
Top Bar
Use the top bar controls to quickly navigate through your Site, both by moving between different pages and by moving between different device views. Click a page to view it, or click a device to see how your current page looks in that view.
The top bar also has controls to undo or re-do simple actions in the Editor, save your current Site, and preview or republish your Site whenever you like.
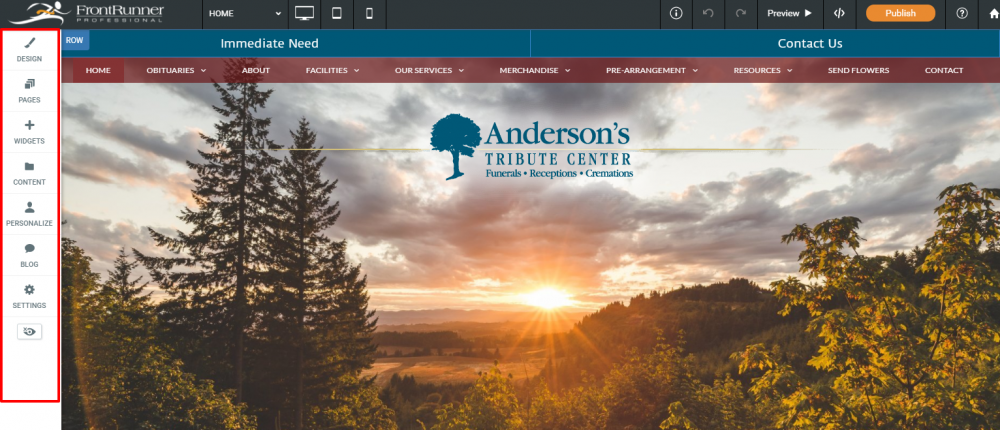
Left Menu
The left menu is where all of the widgets and features hang out until you’re ready to use them. Here you can find tools to edit almost anything on your Site.
The left menu has features to make broad, sweeping changes to the entire Site. For example, changing the color scheme or button design in the design tab, add new features and widgets with the widgets tab, change your pages’ configuration in the pages tab, and make administrative changes in the settings tab (i.e, changing the site’s URL or adding analytics).
Content Area
The Content Area is all about you. It’s your canvas, where you can move or add any of our features, or click and edit to change them however you’d like. Want to change an image? Click it to bring up the Images & Content Editor, then click Replace. Want to color some text? Click a paragraph, then highlight the text inside and click the text Editor’s color option to choose a color. Want to delete a button? Just right-click and click Delete.
