
Editing your virtual showroom can consist of changing the style, adding headers and footers, creating buttons, adding products, and uploading photos and videos.
Navigate to the Kiosk tab at the top. Use the + to expand the My Showrooms category and select the showroom to edit.
The showroom will load to the right. Scroll down and select Edit This Showroom. Every page can be edited.
Change the Style
The look of the showroom can be changed to ensure a consistent look. Select the Style tab from the bottom right.
- Font – Adjust the font style for buttons.
- Font Size – Adjust the font size for buttons. If changed, we recommend changing the button size to match.
- Button Size – Adjust the size of the buttons. If using a touch screen, you may want to adjust to a larger size. If changed, we recommend changing the font size to match.
- Button Border – Adjust the border that appears around the button.
- Button Spacing – Adjust the space between each button.
- Button Fade – Adjust the feathering on top of the button so it does not appear as a squared image.
- Button Columns – Adjust the number of columns for buttons.
- Product Columns – Adjust the number of columns for products.
- Save This Style
To close the window, click the Style tab.
Headers and Footers
Every showroom page contains header (top) and footer (bottom) options.
Click the Edit Header Content button. Type the content and when complete, click Save Header Content.
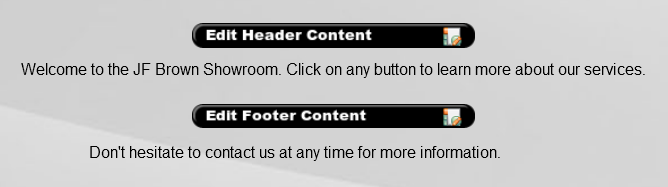
Editing the footer works the same way except you click the Edit Footer Content button to enter content. When complete, click Save Footer Content.
Buttons
Adding buttons to your page helps visitors easily link to different areas of the showroom.
Click the Content tab at the bottom right.
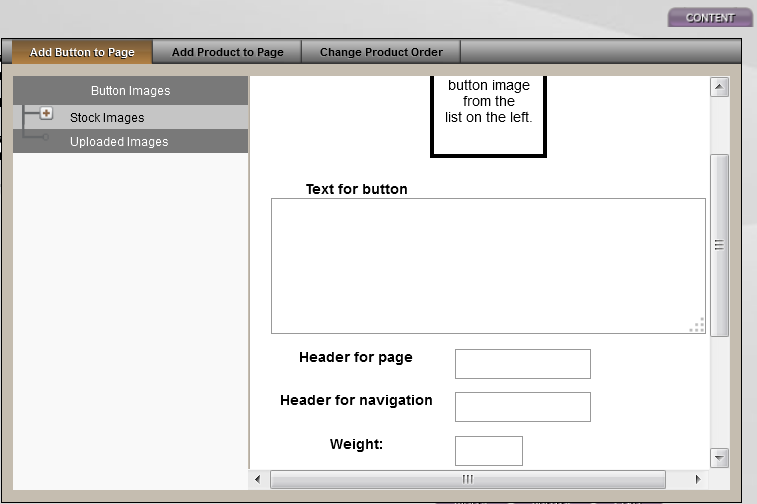
Choose an image by clicking the + icon to expand one of the following categories:
- Stock Images – Images provided.
- Uploaded Images – Images uploaded from your computer.
Enter the Text for button.
Header for navigation is the title to appear in the navigation menu (see below).

Enter the weight and size for the button (optional) or skip and leave as the default. If the page is not to appear in the top navigation, check inside the Don’t put page in navigation bar box.

The Button action – Choose how the button opens when clicked. When complete, click ‘Add Button’. To close the window, click the ‘Content’ tab.
Click on the new button to add content or more buttons to the page. Mouse over the button to display options:
- Delete the button and any content.
- Edit the button (picture or title).
- Copy the button to paste it (and content) on another page. Navigate to the page where the button will go and “paste here” at the top left.
Add Products
Click the ‘Content’ tab at the bottom right. Navigate to the ‘Add Products to Page’ tab. If products are missing, add them to the product database. Matthews’ clients should contact their sales representative if products are missing.
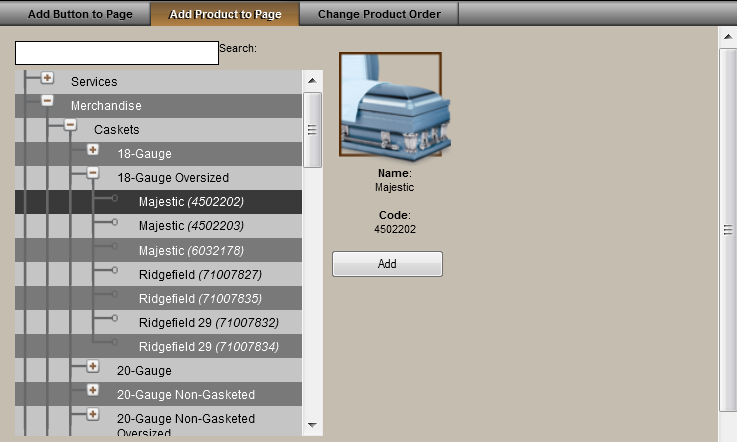
Click on the + beside any category to expand the list. When a selection is chosen, the image, name and code will appear on the right. To add more than one product, hold down the Shift key and the down arrow.
Select ‘Add’ for the selection to appear on the page. To close the window, click the ‘Content’ tab. Mouse over the product and click the X icon to delete the product off the page.
Product Order Change
Click the ‘Content’ tab at the bottom right. Navigate to the ‘Change Product Order’ tab. There are four options:
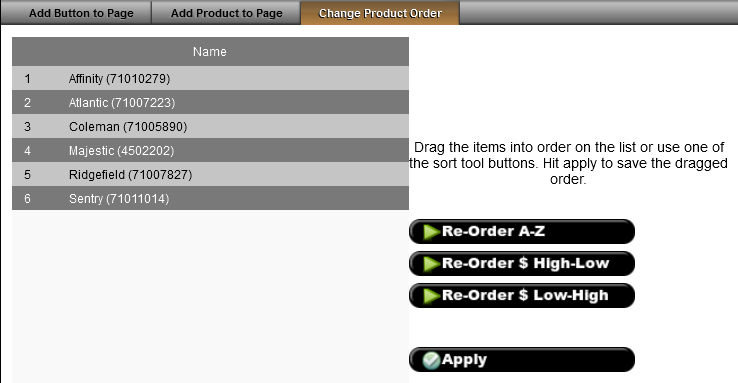
- List A-Z alphabetically.
- List by price (high to low).
- List by price (low to high).
- With the list on the left, drag and drop the products.
When complete, select ‘Apply’. To close the window, click the ‘Content’ tab.
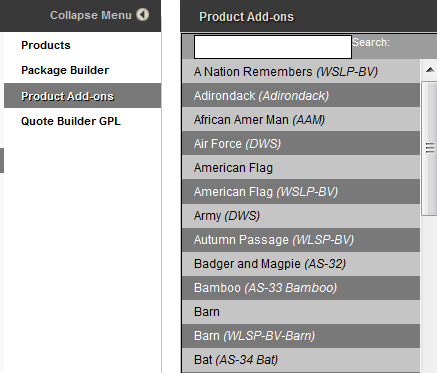
Product Add-Ons
For Matthews’ customers, pricing for all of corners and cap panels can be added through the ‘Product Add-Ons’ section. You can access the catalog by navigating to System Settings> Catalogs> Product Add-ons.
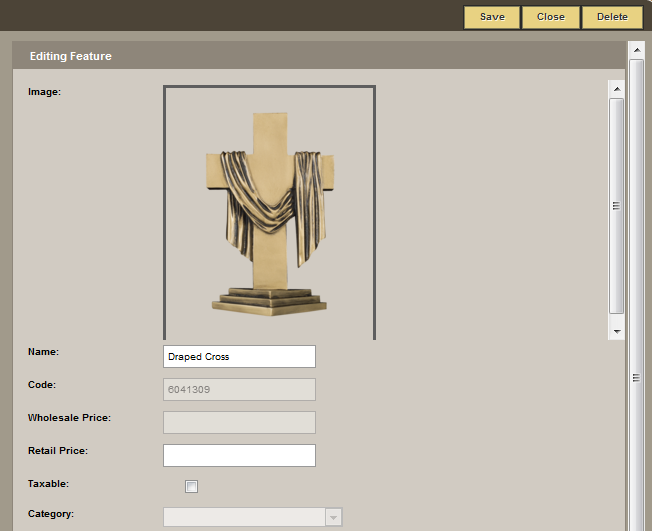
To add pricing to a product, select that product from the list by clicking on it.
You will see all of the product information load on the right hand side of your screen. Please enter your retail price and save your changes.
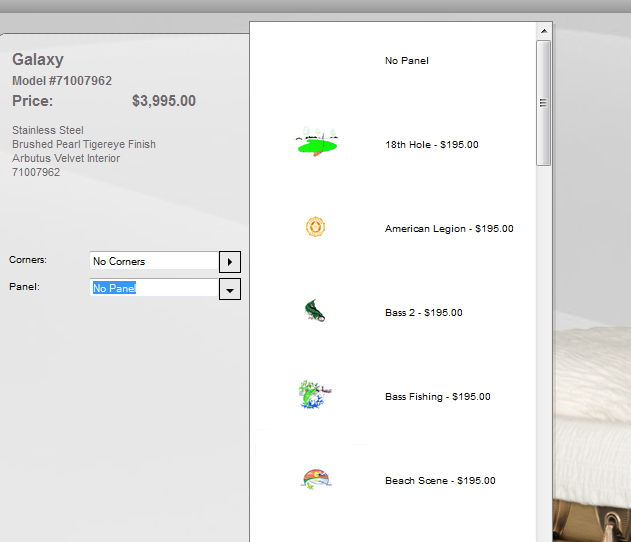
Once the pricing has been entered for the Add-ons, you will then see them in your showroom/Kiosk.

Add a Photo
Click the ‘Photos’ tab at the bottom right. Click the ‘Browse’ button and locate the photo (must be in .jpg format) and either double-click on the photo or click ‘open’.
The photo will appear in the list can be added or edited. To close the window, click the ‘Photos’ tab.
Add a Video
Click the ‘Videos’ tab at the bottom right. Click the ‘Browse’ button to locate the video (must be in .FLV format) and either double-click on the video or ‘open’.
Your video will appear in the list and can be added to any showroom page. To close the window, click the ‘Videos’ tab.
Need more help with this?
Don’t hesitate to contact us here.