
Setting up the Activation Process
Once your Quote Builder GPL set-up is created to include all packages, products, services and prices, it must be activated on the website in order to be seen by online visitors.
From your Quote Builder GPL, set your quote builder to Active by changing the Status. Click the pencil icon to change the status. From the drop-down, select Active. To save, click the disc.

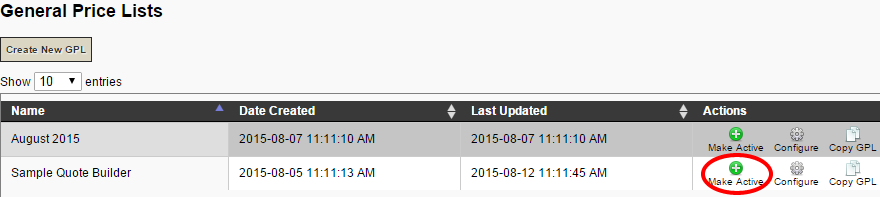
You can also do this step from the GPL list by clicking the green Make Active + button.
Once you have done this, email your Success Coach to complete the activation process.
Setting up your Quote Builder Webpage
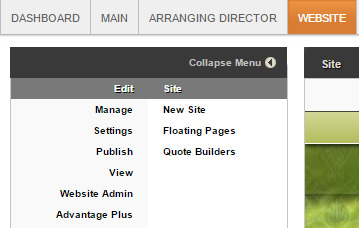
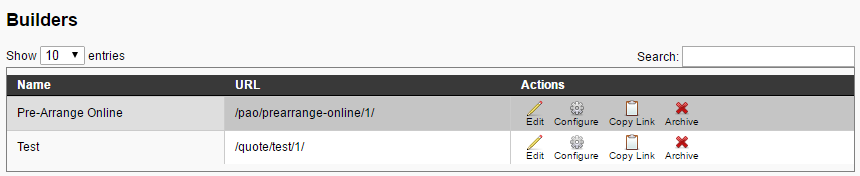
Once your Success Coach lets you know that the activate is completed, navigate to the Website tab of your system. From the menu on the left, select Edit > Quote Builders.
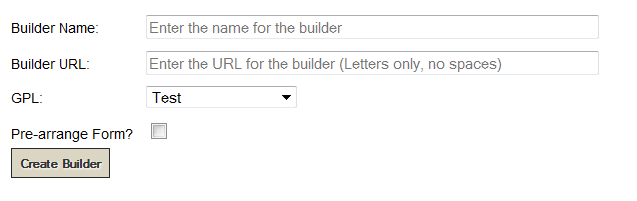
- Builder Name : Each GPL in the system should have it’s own unique name to identify it (Ex. ABC Funeral Home Quote Builder)
- Builder URL: here you will create the URL extension for the Quote Builder. For example, if you typed price-quote-builder into the Builder URL field, the URL that would be created for the Quote Builder would look like yourfuneralhome.com/price-quote-builder.html.
- GPL: Select the GPL that you would like to use for this Quote Builder from the drop-down list.
- Pre-arrange form? : Checking this box will include a longer pre-arrangement data collection form that includes additional fields within the quote builder. Leaving it unchecked will use a basic pre-arrangement form.
Once completed, click “Create Builder”. This will create the Quote Builder in the listing below.
Configuring the Quote Builder
For the Quote Builder that you just set up, click the configure button.
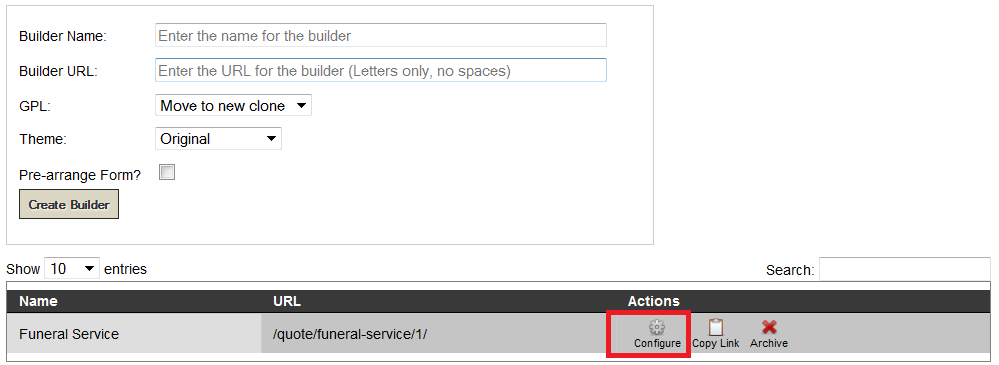
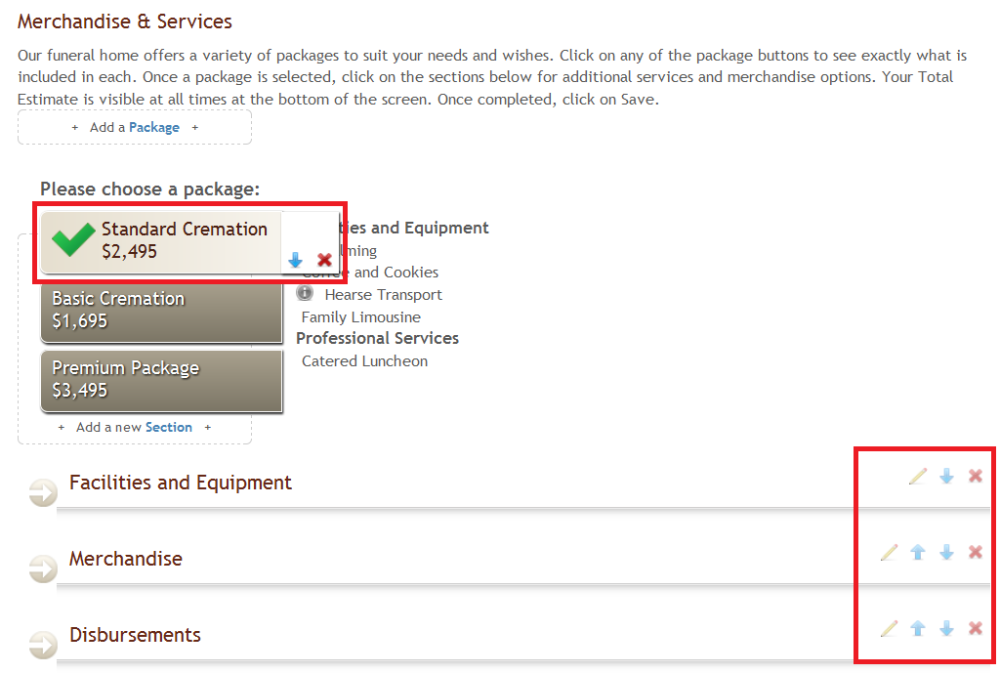
This will lead you to the builder configuration screen, which allows you to build the way that your Quote Builder will appear on the website.
 If you have packages, click the “Add a Package” button. All of the packages that you had loaded on your GPL will appear. Click on the package to add it to the Quote Builder Website Configuration.
 To add the categories of your quote builder, click the “Add a new Section” button. Each category that you have built into the GPL will be available from the list here.
When you select a category, you will receive a prompt asking if you would like to add all of the sub-categories and items for this category. If you would like to pre-fill the category with all of the information from the GPL that exists in this category, select yes. If you select no, you can manually add each item in.

Continue to add packages, categories and sub-categories to the quote builder until you have all categories added.
Editing Options for your Quote Builder
There are a few editing options for your quote builder. Click the Edit button beside your quote builder.
User Logins – you can remove the option to have a login created when someone builds a quote for themselves. However if this is disabled then there will be no shopping basket for PayPal.
Long Family Form – check the box if you want the longer family form.
Builder Section – you can decide which sections you want to show/hide.
If you make any changes, don’t forget to hit Save.
Organization of your Quote Builder
You also have the ability to organize the appearance of your quote builder. You can mouse over the listed packages, categories or sub-categories to delete (with the red X) or reorder (with the blue arrows).
Disclaimer
If you need to add a disclaimer to your quote builder (ex. Prices subject to change without notice, Applicable taxes not included), in the upper left hand corner click “Edit Disclaimer”. Here you can enter and save any disclaimer verbiage that you require. The disclaimer will be visible to the viewer at the top of the quote builder.
The final step is building a page on your website for the Quote Builder to exist.
Need more help with this?
Don’t hesitate to contact us here.